Essential Photography Tips for Road Trips
Table of Contents
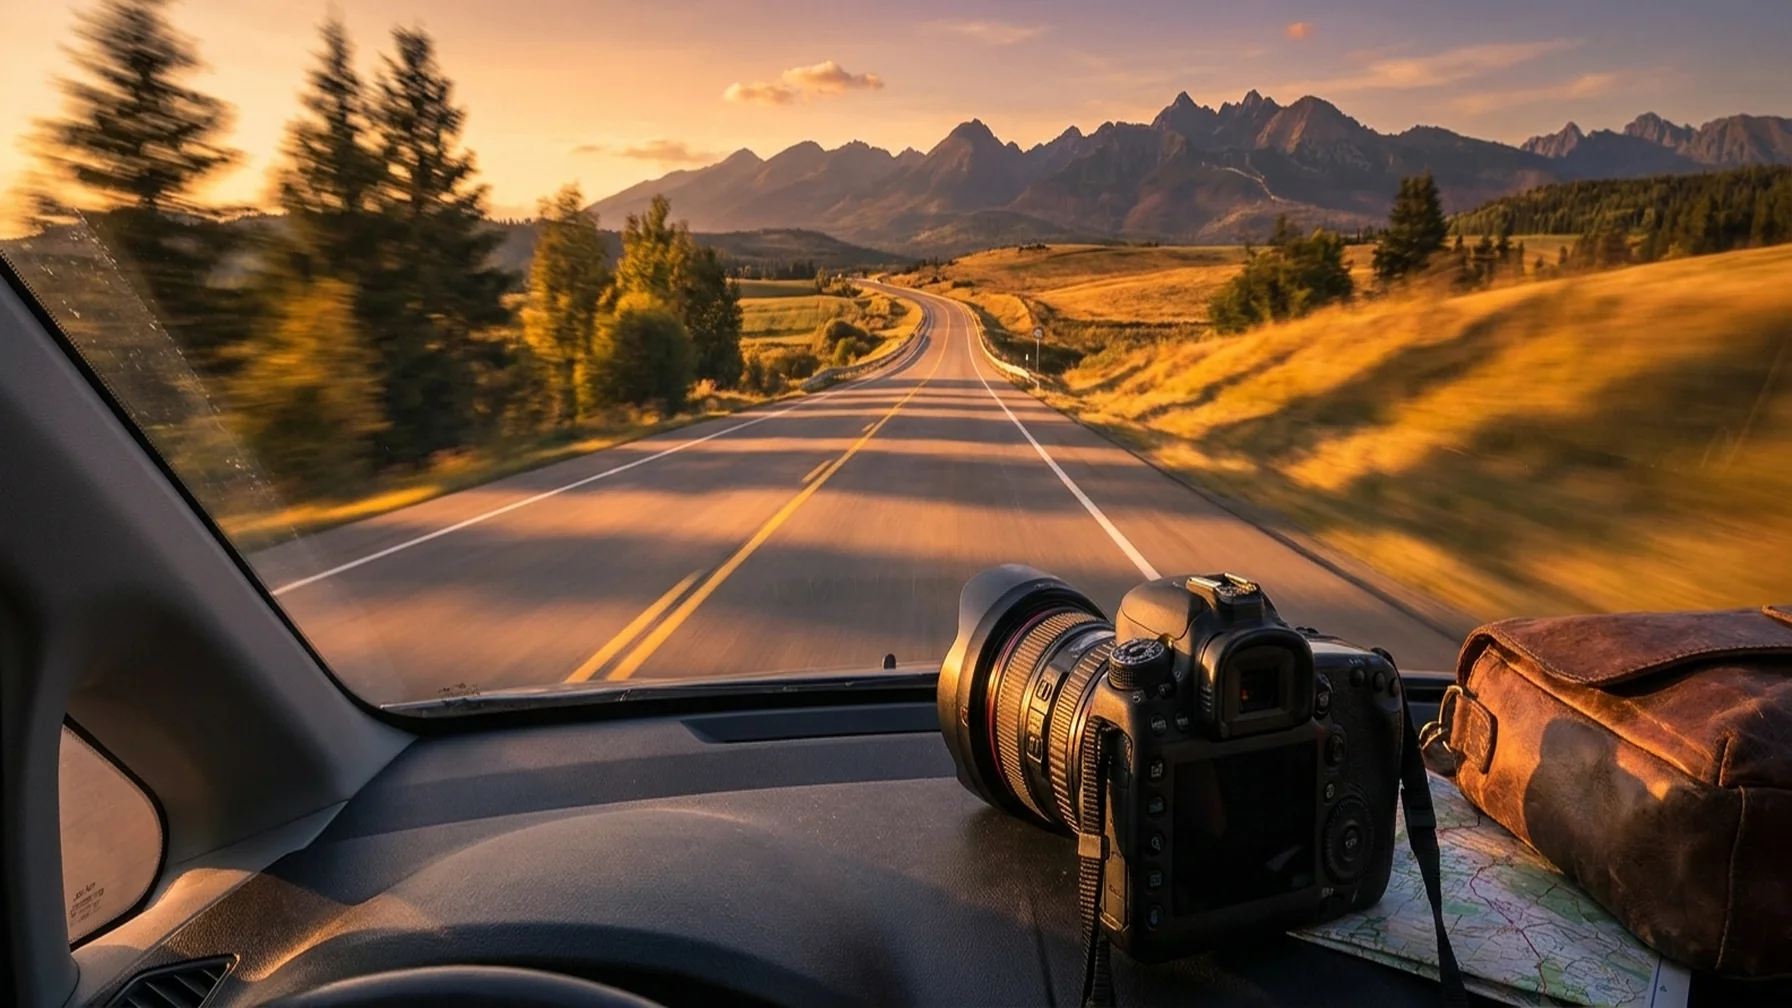
Embarking on a road trip offers the perfect opportunity to capture breathtaking landscapes and memorable moments. Whether you're a beginner or a seasoned photographer, these photography tips for road trips will enhance your travel photography experience. Imagine driving through the scenic routes of the Pacific Coast Highway or the rugged terrains of the Scottish Highlands; the right photography skills can transform these experiences into lasting memories. Road trips provide dynamic backdrops, making them ideal for capturing diverse images. To make the most of your adventure, consider your equipment, understand lighting conditions, and develop a keen eye for composition. Let's dive into these essential tips to elevate your road trip photography.
Choosing the Ideal Camera for Travel Photography
Selecting the right camera is crucial for capturing high-quality travel photos. Portability and versatility are key. Mirrorless cameras are often recommended due to their compact size and excellent image quality. Models like the Sony Alpha series or the Fujifilm X-T series are popular choices among travelers. For instance, a traveler exploring the vibrant streets of Tokyo might benefit from a mirrorless camera's lightweight design, allowing for quick and unobtrusive shooting. Meanwhile, a DSLR camera might be more suitable for those planning an extended trip, such as a cross-country road adventure, where battery life and durability are important.
Understanding Camera Settings for Perfect Shots
Mastering your camera settings is essential for taking great travel photos. Start by learning manual mode, which gives you full control over your camera's settings.
Key Camera Settings for Travel Photography
Getting the right camera settings can make a huge difference in your travel photography. Here's a quick guide to help you choose the best settings for different scenarios.
- Aperture: For landscapes, use a smaller aperture (higher f-stop) to ensure everything is in focus. For portraits, a larger aperture (lower f-stop) creates a pleasing background blur.
- ISO: Keep your ISO as low as possible to reduce noise. Increase it in low-light conditions.
- Shutter Speed: Use fast shutter speeds for action shots and slower speeds for capturing motion blur, such as waterfalls.
Below is a simple reference table to help you quickly adjust settings based on your photographic needs.
Quick Reference: Camera Settings
| Scenario | Aperture | ISO | Shutter Speed |
|---|---|---|---|
| Landscape | f/8 - f/11 | 100 - 200 | 1/125s or faster |
| Portrait | f/2.8 - f/5.6 | 100 - 400 | 1/125s or slower |
| Low Light | f/2.8 | 800 - 1600 | 1/60s or slower |
By fine-tuning these settings, you'll be well on your way to capturing stunning travel photos that truly reflect your adventures.
Essential Lenses for Capturing Diverse Perspectives
The best lens for travel photography is one that offers versatility. A zoom lens, such as an 18-55mm or 24-70mm, allows you to capture wide landscapes and detailed close-ups without switching lenses. For landscape photography, a wide-angle lens can enhance the sense of space and depth. Imagine photographing the expansive Grand Canyon; a wide-angle lens can capture the vastness of the landscape, while a zoom lens can highlight the intricate textures of the canyon walls.
Composing Your Shots: Rules and Techniques
Composition is a fundamental aspect of photography. Follow these composition rules to create visually appealing images:
- Rule of Thirds: Divide your frame into thirds, both horizontally and vertically. Position key elements along these lines for balanced compositions.
- Leading Lines: Use roads, rivers, or fences to guide the viewer's eye through the image.
- Framing: Use natural frames like arches or trees to draw attention to your subject.
For example, when photographing a winding mountain road, use the road itself as a leading line to draw the viewer's eye towards the mountains in the distance. This technique adds depth and intrigue to your photos.
Capturing the Magic of Golden Hour
Golden hour, the time shortly after sunrise and before sunset, offers soft, warm lighting that enhances your photos. During this time, shadows are longer, and the light is less harsh, making it ideal for landscape and portrait photography. Plan your shooting schedule to make the most of golden hour. Imagine capturing the silhouette of a lone tree against a vibrant sunset in the Sahara Desert. The golden hour light not only adds warmth but also creates a dramatic mood that elevates the entire scene.
How to Take Sharp Photos
Sharpness is crucial for high-quality images. Here are some tips to ensure your photos are sharp:
- Use a tripod to minimize camera shake.
- Enable image stabilization if your camera has it.
- Focus on your subject using single-point autofocus.
Imagine photographing a field of wildflowers on a windy day. A tripod can stabilize your camera, and using single-point autofocus ensures that the flowers, not the background, are in sharp focus.
Editing Your Travel Photos
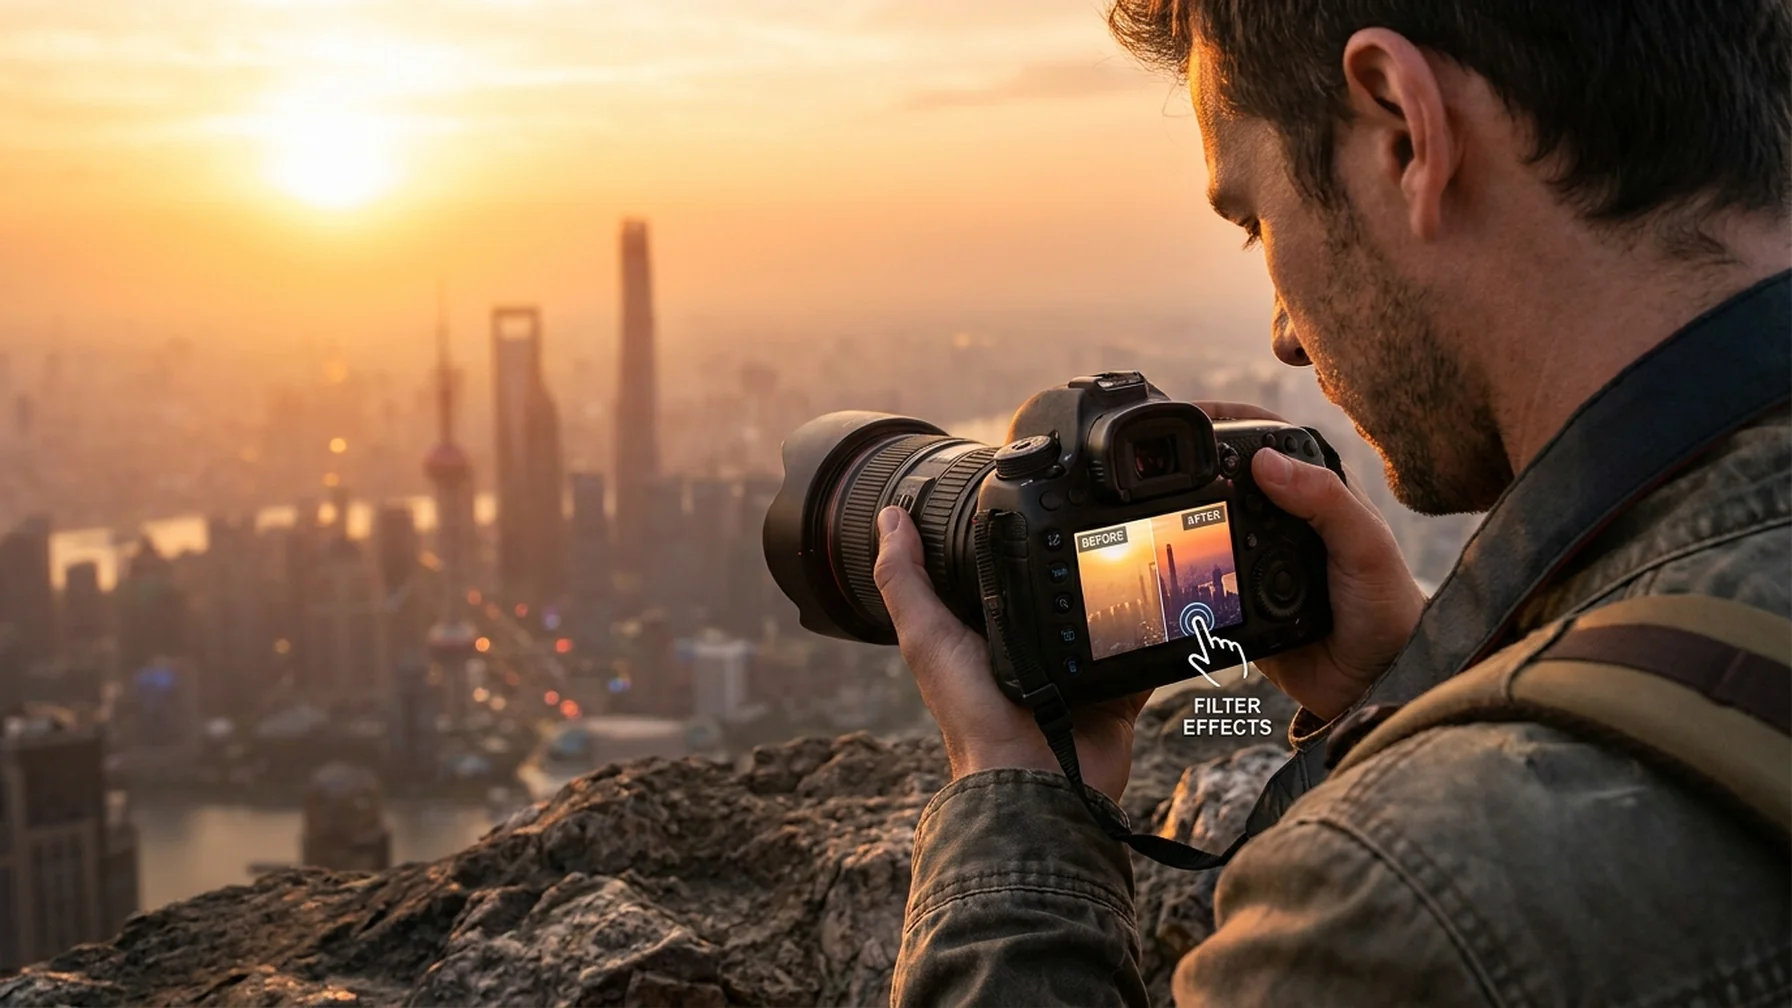
Editing is the final step in creating stunning travel photos. Use photo editing apps like Adobe Lightroom or Snapseed to enhance your images. Adjust exposure, contrast, and saturation to bring out details. Remember, the goal is to enhance, not over-edit, your photos. For instance, when editing a photo of a misty morning in the hills, subtle adjustments to contrast and saturation can reveal hidden details and enhance the mood without losing the natural beauty of the scene.
Night Photography and the Milky Way
Night photography offers unique challenges and rewards. To capture the Milky Way, find a location with minimal light pollution and use a wide-angle lens with a large aperture. Set your ISO high and use a longer shutter speed. Experiment with different settings to find what works best for your camera. Imagine setting up your camera on a clear night in the Australian Outback. The lack of light pollution allows the Milky Way to shine brightly, and with the right settings, you can capture the galaxy's splendor in stunning detail.
Travel Photography with Your Phone
Not everyone travels with a camera, but smartphones can also capture amazing photos. Use these tips to take good photos with your phone:
- Clean your lens before shooting.
- Use HDR mode for better dynamic range.
- Experiment with manual settings available in some camera apps.
Consider a spontaneous photo opportunity while exploring a bustling city. With your smartphone, you can quickly capture the vibrancy of a street festival without the need for bulky equipment.
Avoiding Common Mistakes
Even experienced photographers can make mistakes. Here are some common pitfalls and how to avoid them:
- Overpacking Gear: Carrying too much equipment can be cumbersome. Focus on versatile gear that suits your style and destination.
- Ignoring Weather Conditions: Weather can dramatically change the mood of your photos. Embrace it, whether it's a foggy morning or a sunny afternoon.
- Not Backing Up Photos: Always back up your photos to avoid losing precious memories. Use cloud storage or portable drives.
Imagine setting off on a road trip through Iceland. Overpacking might mean missing out on spontaneous adventures due to the weight of unnecessary gear. Instead, choose essential equipment that allows flexibility and freedom.
By following these photography tips for road trips, you'll be well-equipped to capture stunning images that reflect your journey. Whether you're photographing vast landscapes or intimate moments, each photo will tell a story worth sharing. Happy shooting!